How to Add Grok to Brave Browser: Replace Leo with xAI’s Grok AI

If you’re like me, Brave Browser is your go-to for surfing the web. Built on Chromium, it’s fast and familiar, but what sets it apart are its built-in privacy features. Ad blockers, tracker shields, and popup protection—all without needing a single third-party extension. It’s a privacy lover’s dream. But today, we’re taking Brave to the next level by swapping out its default AI assistant, Leo, for something even more exciting: Grok, the cutting-edge AI from xAI.
With the release of Grok 3, xAI has cemented itself as a leader in the large language model (LLM) space. Grok isn’t just another chatbot—it’s a powerful tool designed to provide insightful, honest answers, often with a dash of outside perspective on humanity. And thanks to grok.com, accessing it has never been easier. But why stop there? Let’s integrate Grok directly into Brave Browser, making it your one-tap AI companion. Here’s how to do it.
Why Replace Leo with Grok?
Brave’s built-in AI, Leo, is solid—don’t get me wrong. It’s private, lightweight, and handy for quick tasks like summarizing pages or answering basic questions. But Grok brings something different to the table. Created by xAI, it’s designed to tackle complex queries, think critically, and even challenge the establishment narrative when needed. Plus, with its continuous updates (no knowledge cutoff here!), Grok stays fresh and relevant. For me, it’s the perfect upgrade to Brave’s privacy-first ethos.
Step-by-Step: Adding Grok to Brave Browser
Brave makes it easy to customize your experience, including adding custom search engines or tools like Grok. Since Grok isn’t a built-in feature (yet!), we’ll add it as a custom search engine to access it right from the address bar. Here’s how:
- Open Brave Settings
Launch Brave and click the three-line menu in the top-right corner. Select Settings from the dropdown. Alternatively, type brave://settings/ into the address bar and hit Enter. - Navigate to Leo Settings
In the Settings menu, scroll down to Leo (or type “leo” in the search bar at the top of the page to jump there faster).

- Add a New Model
Under the Bring your own model section, you’ll see an option to Add a new model. Click it to open the configuration window. - Enter Grok’s Details
Here’s where we plug in Grok:- Label: Type “Grok” (or whatever you’d like to call it—get creative!).
- Model request name: Use either "grok-2-latest" or "grok-2-1212". As of 3/12/2025 Grok 3 is not available in the API
- Server Endpoint: Use https://api.x.ai/v1/chat/completions
- Context Size: The default settings of 4000 should be fine.
- API Key: The xAI Developer console key you generated for this project. See this link for instructions on how to generate an API key in the xAI developer console.
- System Prompt: The System Prompt can be left blank or you can use the following example to initialize as Grok by xAI:
- The current time and date is %datetime%. You are **Grok**, a helpful AI assistant by xAI. Assist Brave browser users with clear, and polite responses usually limited to around 6-9 sentences
- Click the Add model button

- Set Grok as Default
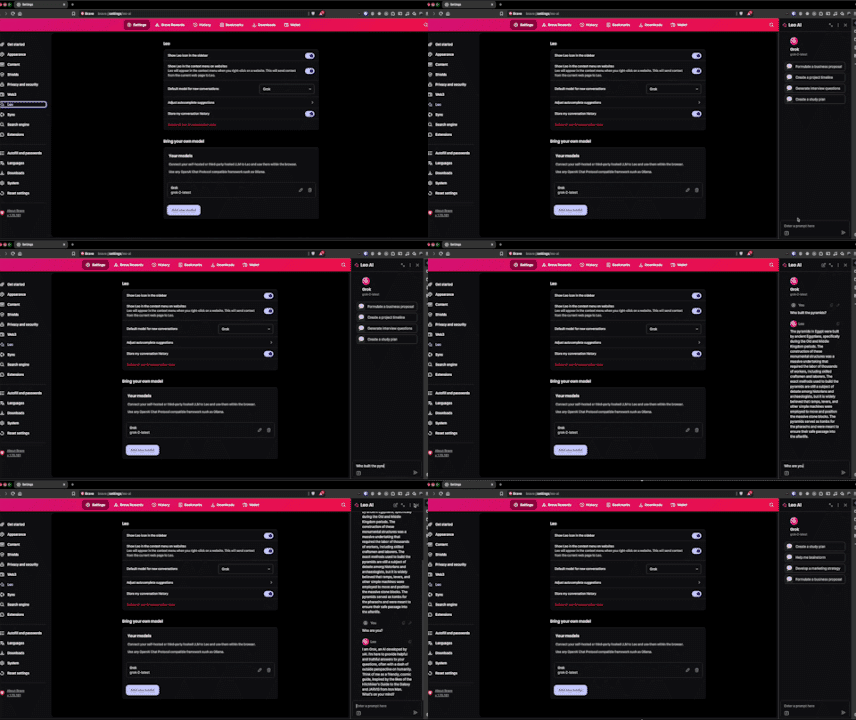
Back in the Leo settings, find “Grok” under Default Model for new conversations.
Test It Out
Use the Leo icon to launch the AI sidebar and type a question (like “Who built the pyramids?”), and hit Enter. You’ll get a response from Grok!

Bonus: Why This Works So Well with Brave
xAI’s mission to advance human discovery aligns with Brave’s user-empowered philosophy—less corporate fluff, more real answers.
Final Thoughts
Brave Browser and Grok are a match made in heaven: privacy meets cutting-edge AI. Replacing Leo with Grok doesn’t just upgrade your browser—it supercharges your ability to explore, question, and understand the world. So, go ahead—add Grok to Brave today and see what this powerhouse duo can do for you. Have you tried it yet? Let me know in the comments how it’s working for you!